Generally, when you want your android screenshots on your Windows PC, you need to take screenshots from your Android and then transfer those screenshots to your PC via Bluetooth, USB cable, or any other way. But this process is very time-consuming, and that’s why we are here with a cool alternative for this with which you can take screenshots directly from your Android device, and there will be no need to press some buttons of your android. Also Read: How To Automatically Download Movie Subtitles On Android
Steps to Take Android Phone Screenshots Directly From PC
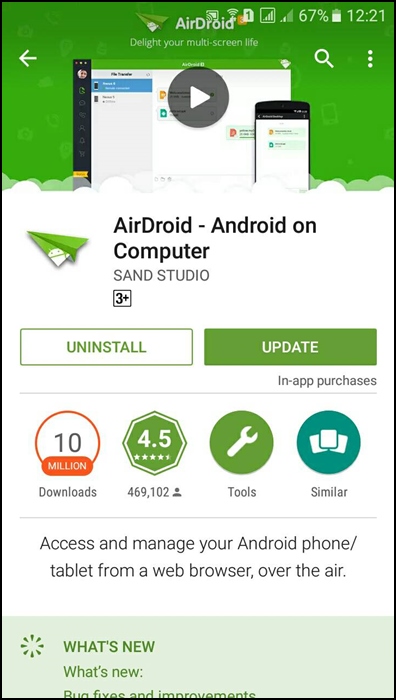
The method is straightforward and depends on a cool app that will allow you to control your device on your PC, and with that, you can easily take screenshots from your PC and save them directly to your PC. Just follow some simple steps below to proceed. Step 1. First of all, on your android device, download and install the app AirDroid: File Transfer/Manage.
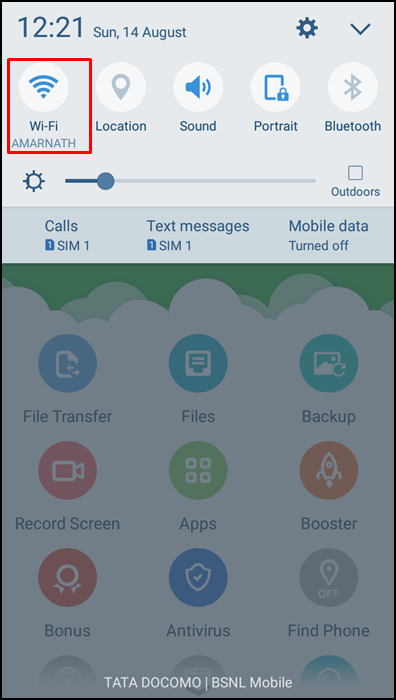
Step 2. Now connect your Android and PC with a typical wifi network to access your device over that network.
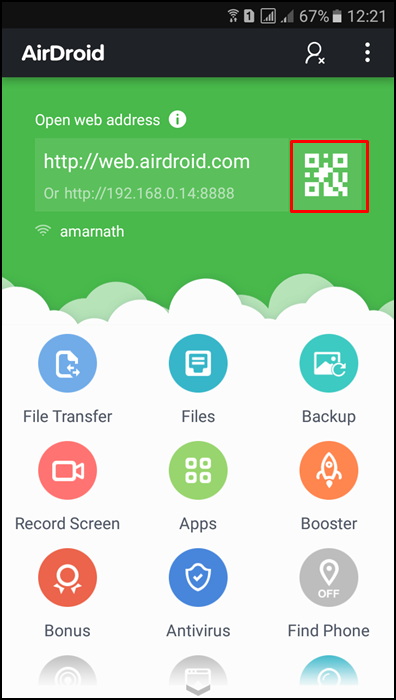
Step 3. Now launch the AirDroid app in your android, and you will see an IP address and a port number in the app, note it down. Or you can click on the QR Code scanner.
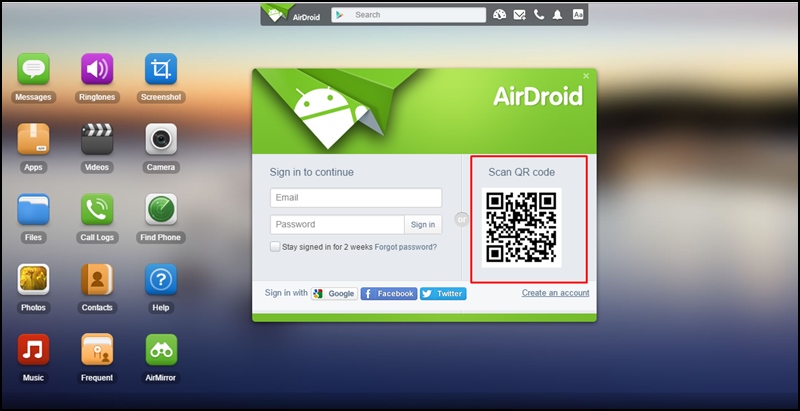
Step 4. Now in your PC browser, open web.airdroid.com, and you will see the “Scan Qr Code” option
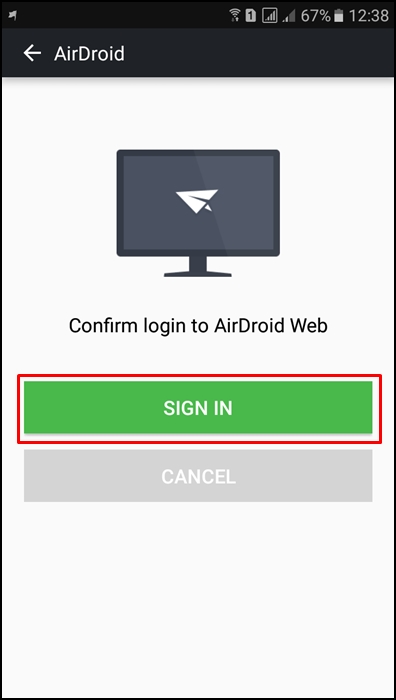
Step 5. Now open the AirDroid app from your Android and scan the QR Code Given on your Computer screen. Now you need to accept the connection in your android device, and your Android is then successfully connected to your Windows PC.
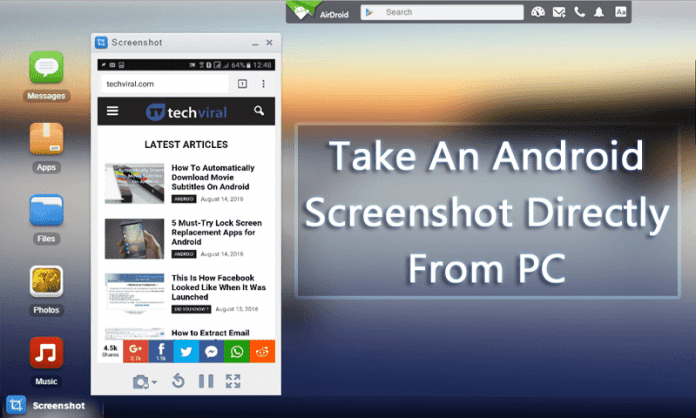
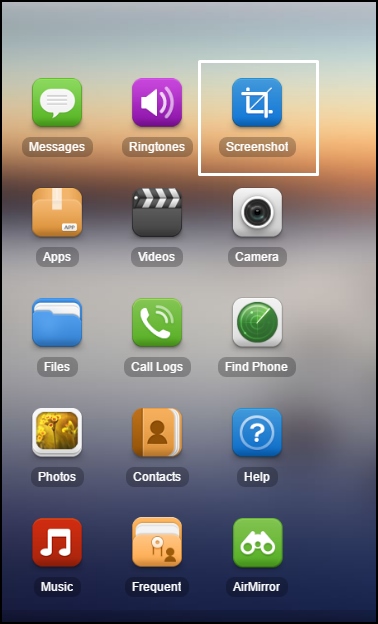
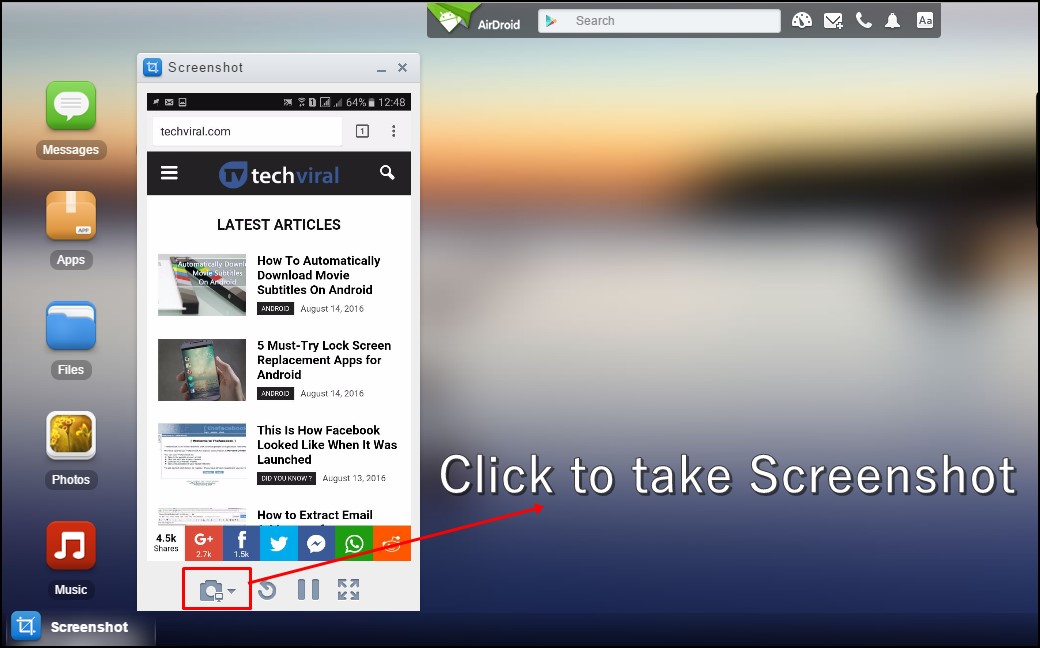
Step 6. Once connected, you can use the “Screenshot” option from the web version of AirDroid to take screenshots.
That’s it! You are done with this; you can save any screenshot by directly taking it from your PC screen.
Using Android SDK
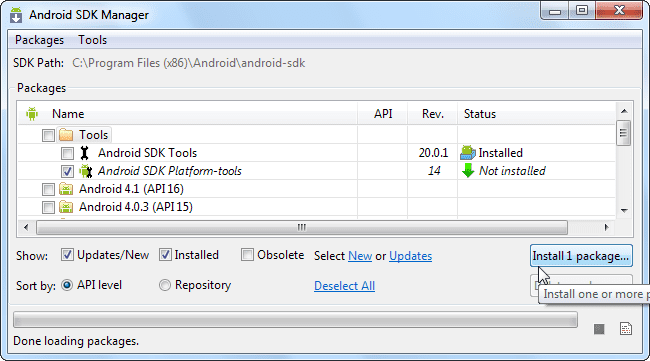
Well, on a few Android smartphones, we got no option to take screenshots. However, you can take screenshots by connecting your Android device to your computer and using Google’s Android SDK. Here’s what you need to do. Step 1. First of all, download and install the Java Development Kit (JDK) on your computer from Oracle’s website. Step 2. In the next step, you need to download the Android SDK from Google’s Android Developers website. Step 3. In the next step, you need to right-click on the SDK Manager Shortcut and select ‘Run as administrator.’ Step 4. Finally, check the Android SD Platform-tools box and then install it.
Step 5. Next, on your Android, turn on the USB Debugging mode.
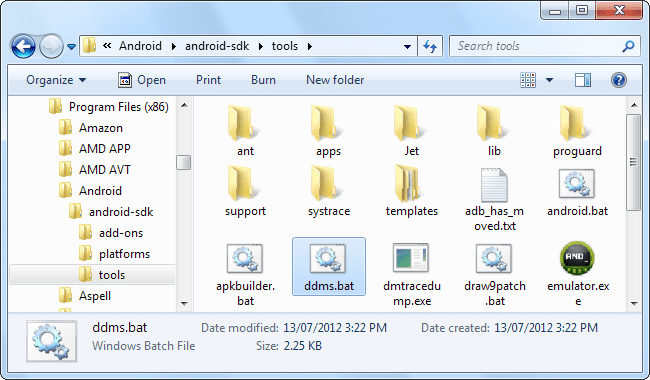
Step 6. After enabling the USB Debugging mode, connect your Android device to your computer via a USB Cable. Your computer will automatically detect and install the drivers. Step 7. Now head to the C:\Program Files (x86)\Android\android-SDK and then launch the ddms.bat
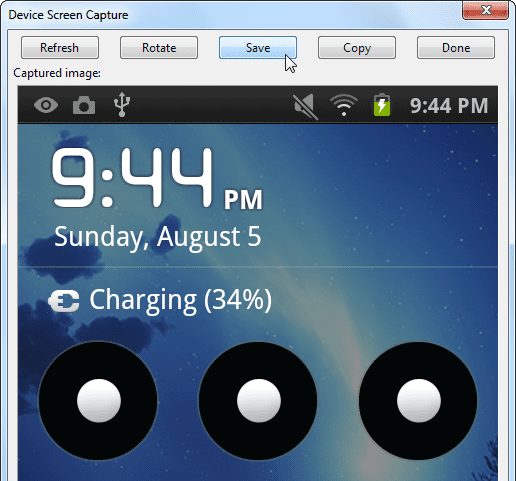
Step 8. Now you will see the interface like below. Here you need to select your Android phone and then click on the device. Under the Device drop-down menu, select ‘Screen Capture.’
Step 9. It will take a screenshot of your current Android screen. To take other screenshots, tap on the ‘Refresh’ button. To save the screenshot, click on ‘Save.’ That’s it; you are done! This is how you can take an Android phone screenshot directly from a PC by Using Android SDK.
Using ApowerMirror
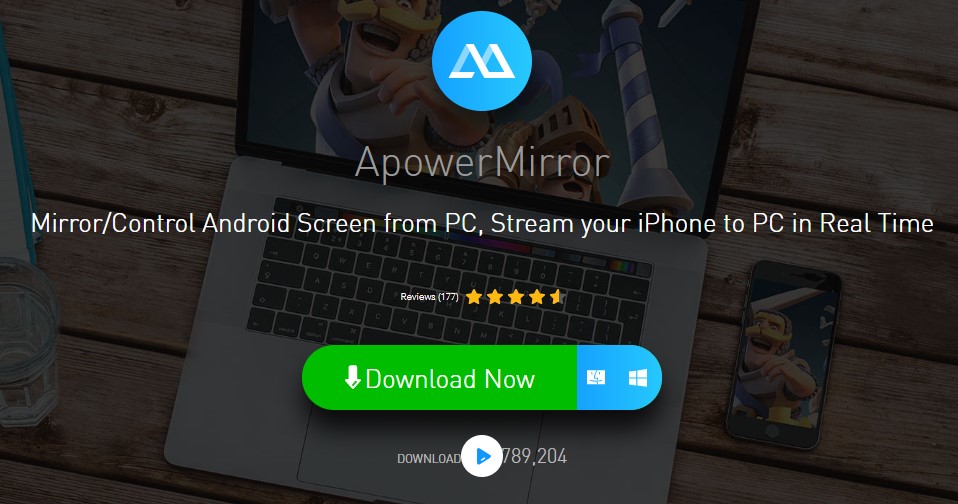
For those who don’t know, ApowerMirror is one of the best screen mirroring app available for the computer. The great thing about ApowerMirror is that it provides users a wide range of options after reflecting on the smartphone. For example, you can either choose to capture the screenshot, record the entire screen, operating Android features, etc. So, here’s how you can use ApowerMirror to take an Android phone screenshot directly from your PC. Step 1. First of all, download & install ApowerMirror on your computer. Once downloaded, download the mobile app on your Android smartphone.
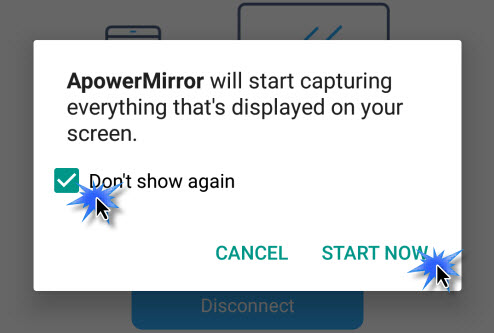
Step 2. Now turn on the USB Debugging mode on your Android device and connect it with the computer. Step 3. Launch the ApowerMirror computer tool, and it will show you the list of connected devices. Simply select your Android smartphone and tap on ‘Start Now.’
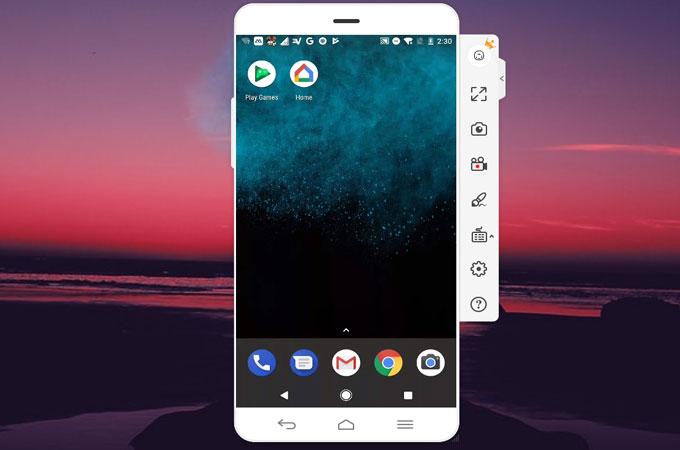
Step 4. Now you will be able to see the entire Android screen on your PC. To take a screenshot, tap on the ‘Screenshot’ icon.
That’s it; you are done! This is how you can use ApowerMirror to take an Android phone screenshot directly from a PC. So above is all about Take An Android Phone Screenshot Directly From PC. With this method, you can easily take screenshots directly from your PC and easily save them on your Windows PC. Also, you can access lot more features of the AirDroid app on your Windows PC. I hope you like this cool trick, do share it with others too. Leave a comment below if you have any related queries with this.
Δ